What Are Swirl Marks?
Swirl marks are microscopic scratches that affect the clear coat layer of automotive paint.
Although they often appear circular, swirl marks are actually random scratches that become visible when light reflects off the paint surface.
Common causes include:
- Improper washing techniques
- Automatic car washes
- Dirty wash mitts
- Dry wiping dust off paint
- Improper towel use
- Contaminated polishing pads
- Poor drying methods
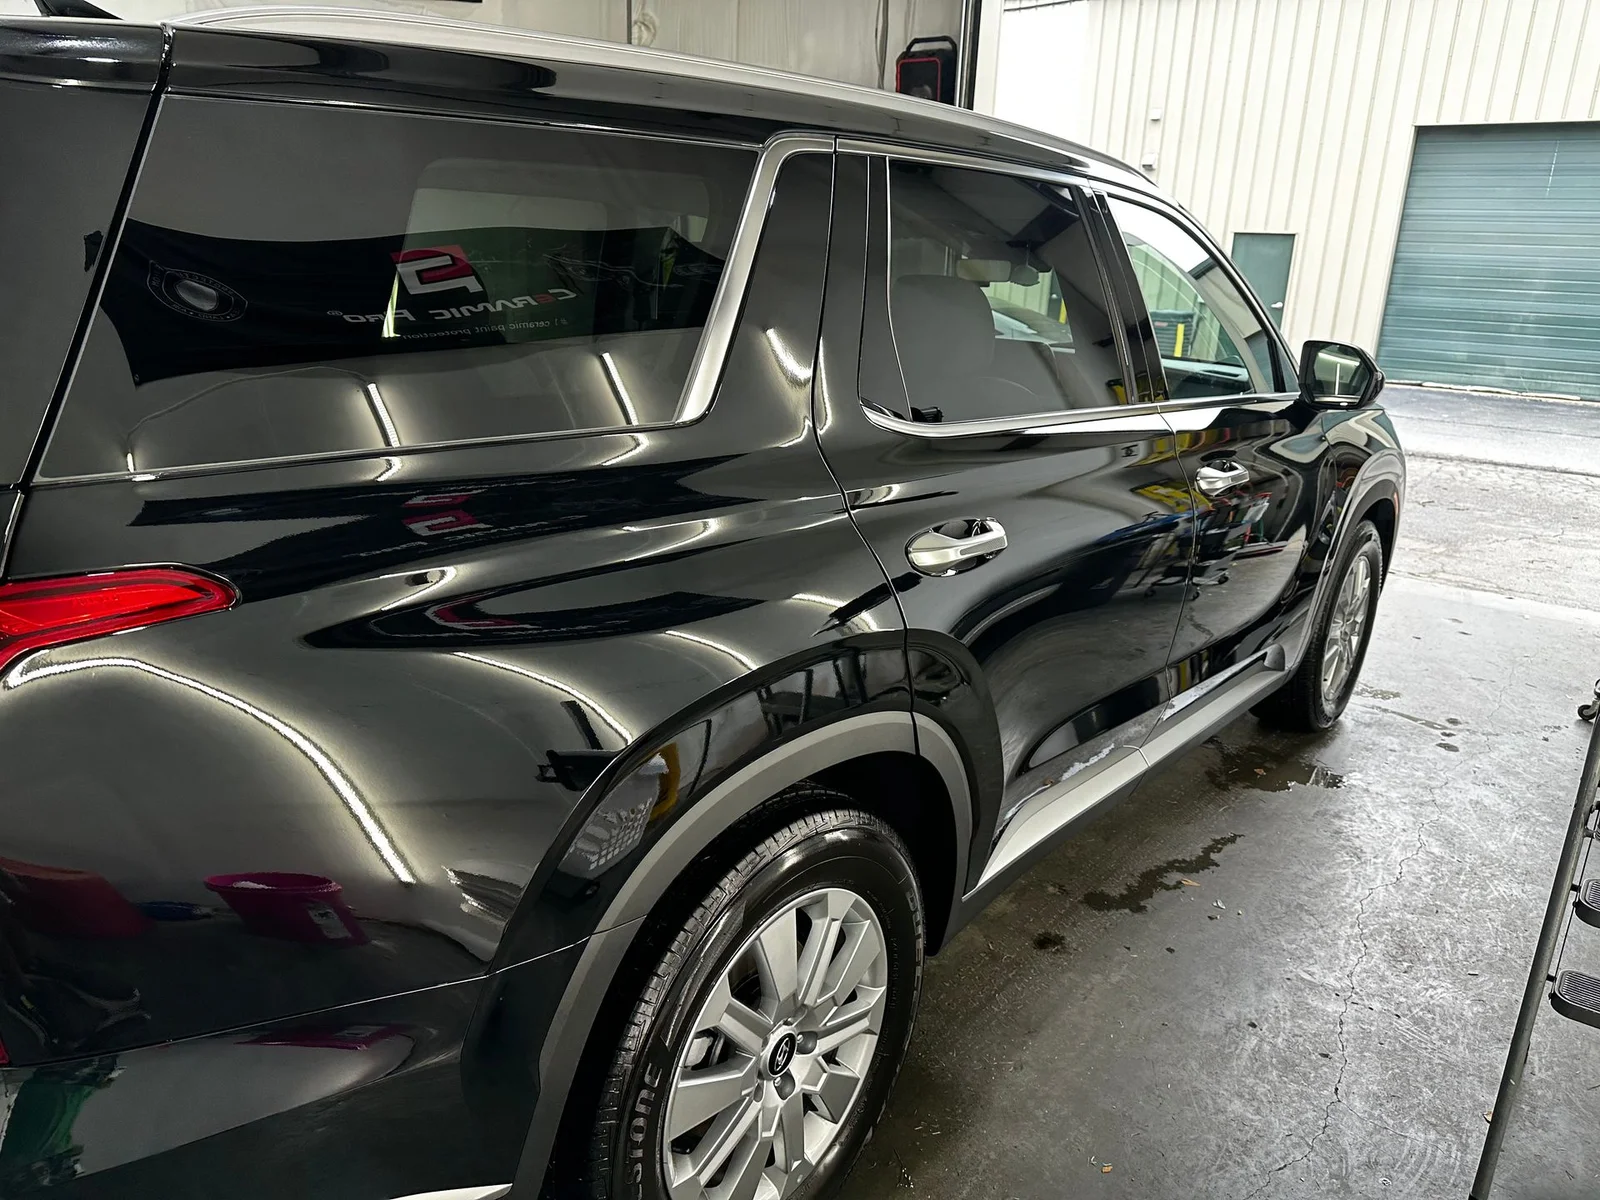
Dark-colored vehicles tend to show swirl marks more prominently, but virtually every vehicle develops them over time.
Why Repainting Is Usually Unnecessary
Many vehicle owners assume that visible scratches automatically require repainting.
Fortunately, this is rarely the case.
Modern automotive paint systems typically consist of:
- Primer
- Base color coat
- Clear coat
Most swirl marks exist only within the clear coat layer. Since the underlying color remains intact, paint correction techniques can often restore clarity and gloss without adding new paint.
Professional detailers typically view repainting as a last resort rather than a first solution.
Begin With a Thorough Wash
Before addressing swirl marks, the vehicle must be cleaned properly.
A complete wash removes:
- Dirt
- Road film
- Dust
- Surface contamination
Attempting paint correction on a dirty surface can introduce additional scratches.
Use:
- Quality car shampoo
- Clean microfiber wash mitts
- The two-bucket wash method
Proper preparation helps ensure safer and more effective correction.
Personal Observation
One of the most common mistakes I see is vehicle owners attempting to polish paint without thoroughly cleaning it first. Unfortunately, even small amounts of leftover contamination can create additional swirl marks during the correction process.
Patience during preparation almost always produces better final results.
Decontaminate the Paint Surface
After washing, inspect the paint by lightly running your fingertips across the surface.
If the paint feels rough, bonded contaminants may still be present.
Common contaminants include:
- Industrial fallout
- Tree sap residue
- Road tar
- Brake dust particles
- Environmental pollutants
Removing these contaminants creates a smoother surface and improves polishing performance.
Clean paint responds much better during correction.
Inspect the Severity of the Swirl Marks
Not all swirl marks are equally severe.
Inspect the vehicle under strong lighting.
Look for:
- Fine surface swirls
- Moderate wash marring
- Deeper scratches
- Holograms
- Oxidation
This evaluation helps determine the appropriate correction approach.
In many cases, lighter defects require surprisingly little correction.
Insider Tip: Use Multiple Light Sources
Professional detailers often inspect paint using several types of lighting.
For example:
- Sunlight
- LED inspection lights
- Garage lighting
- Handheld spotlights
Different light sources reveal different imperfections.
A vehicle that appears flawless indoors may reveal substantial swirl marks outside.
Understand Paint Correction Basics
Paint correction involves carefully leveling microscopic imperfections within the clear coat.
The process generally includes:
- Polishing
- Refining
- Surface enhancement
The objective is not to remove large amounts of paint but rather to restore a smooth, reflective surface.
This requires a careful balance between correction and preservation.
Overcorrection can remove unnecessary clear coat.
Start With the Least Aggressive Method
One of the fundamental principles of professional detailing is to begin conservatively.
Always start with:
- Mild polishing combinations
- Gentle polishing pads
- Minimal correction approaches
If the swirl marks remain visible, gradually increase correction levels.
This approach preserves as much original clear coat as possible.
Aggressive correction should never be the starting point.
Insider Tip: Test a Small Area First
Rather than correcting the entire vehicle immediately, perform a test section.
This allows you to evaluate:
- Correction effectiveness
- Paint response
- Product performance
- Desired finish quality
Professional detailers rely heavily on test spots because every paint system behaves differently.
A small test area can save hours of unnecessary work.
Work Methodically Panel by Panel
Successful swirl removal requires consistency.
Focus on one section at a time.
Work systematically across:
- Hood
- Roof
- Doors
- Fenders
- Trunk
- Quarter panels
Rushing often leads to uneven correction.
Taking a measured approach produces more uniform results.
It also reduces the likelihood of overlooking defects.
Refine the Finish After Correction
Once major swirl marks have been eliminated, a refining step often improves overall appearance.
Refinement helps:
- Increase gloss
- Improve clarity
- Remove minor haze
- Enhance reflections
This stage frequently creates the dramatic visual improvement vehicle owners notice most.
The difference between corrected paint and refined paint can be substantial.
Protect the Corrected Surface
After correcting swirl marks, protecting the finish becomes essential.
Freshly corrected paint should be protected from:
- UV exposure
- Environmental contaminants
- Road grime
- Improper washing
Maintaining protection helps preserve the corrected finish and reduces the likelihood of future defects.
As explained in this guide on auto detailing virginia beach (https://nuimagedetail.com/), preventative maintenance often plays a greater role in preserving vehicle appearance than corrective work alone. Once swirl marks are removed, proper maintenance habits become critical to keeping the paint looking its best.
Prevent Future Swirl Marks
Many swirl marks develop during routine maintenance.
To minimize future defects:
- Use quality microfiber towels
- Wash with clean mitts
- Use the two-bucket method
- Dry carefully
- Avoid automatic brushes
- Remove contaminants promptly
Proper washing habits can dramatically reduce the formation of new swirl marks.
In many cases, prevention is easier than correction.
Common Mistakes to Avoid
Several errors frequently occur during swirl removal.
Using Excessive Aggression
Removing more clear coat than necessary can permanently reduce paint thickness.
Skipping Surface Preparation
Contamination interferes with correction and increases risk.
Working Too Quickly
Rushing often produces inconsistent results.
Ignoring Maintenance Practices
Poor washing habits quickly recreate swirl marks.
When Repainting May Be Necessary
Although most swirl marks can be corrected, some defects extend beyond the clear coat.
Examples include:
- Deep scratches
- Paint failure
- Severe clear coat damage
- Exposed primer
In these cases, repainting may eventually become necessary.
Fortunately, such situations are far less common than many vehicle owners assume.
Final Thoughts
Swirl marks can dramatically reduce the appearance of a vehicle, but they rarely require repainting. In most cases, proper paint correction techniques can restore clarity, gloss, and depth while preserving the original finish. The key lies in understanding the condition of the paint, using conservative correction methods, and approaching the process with patience.
Successful swirl removal is not about using the most aggressive products or techniques. Instead, it involves careful preparation, proper inspection, methodical correction, and long-term maintenance. By focusing on preservation rather than replacement, vehicle owners can often achieve remarkable improvements while keeping their original paint intact.
Also read for more information so click here.